Tools You Should Use For Creating a Classic Cut Crease
Cut creases are that one makeup looks that every beginner wants to master. Once you’ve nailed the cut crease you’ve pretty much made it as a beauty guru, right? Not really.
Creating a cut crease can actually be pretty complicated if you’re not using the right tools. You might be doing all the right steps but your brushes and product selection is all wrong. What makes a cut crease so unique is how precise and clean you draw the crease line.
Using the right tools is essential to creating a clean eyeshadow look. When creating a cut crease you should use:
- Eyeshadow primer
- Eyeshadow (of your choice)
- A blending brush
- Flat concealer brush
- Concealer
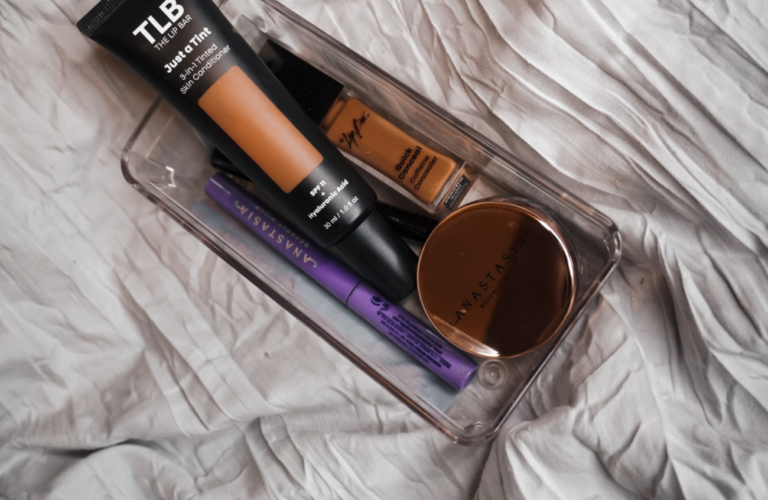
Tools for creating a cut crease.
No matter what type of makeup look I create, my precision always comes down to the brushes and products I decide to use.
Every brush has a specific purpose for each part of the face. You should take the time to learn about each of your brushes if you want to achieve the best-looking results.
The same goes for the type of products you choose to use. Remember everyone’s skin type is different so use the products that you know work for you.
Here are the basic tools you’ll need to create a cut crease and why they are so important to use.
Eyeshadow primer
Using an eyeshadow primer should always be in your routine. Whether you are creating a cut crease or planning to blend out your shadows, use a primer.
Eyeshadow primer helps the eyeshadow to stay in place for a longer period of time. Less creasing, less smudging, and an overall even application.
Primer also helps to get the best pigment out of your shadows.
I used to buy so many beautiful palettes without ever buying a single primer. For the longest, couldn’t figure out why the bright colors wouldn’t transfer onto my eyelids. When I finally bought an eyeshadow primer I got the bright pigmentation I always wanted.
Using primer creates a fresh blank canvas on the eyes for you to start working with.
Blending Brush
A classic cut crease starts with you blending a darker shade in between your eyelid and crease. Using a blending brush really helps to get that seamless blend above the brow bone.
Flat Concealer Brush
For any makeup look, the type of brush you choose can determine how clean your end result is. When creating a cut crease, a flat concealer brush will give you the most precise outline between your crease and eyelid.
Concealer
With a concealer, you’re going to be creating the illusion of a larger eyelid. When you start to draw the outline of your cut crease it should start from the inner corner of your eye and come right above your natural crease.
Using a concealer brush will give you the most precise line. It will also make it easier for you to fill in the rest of your lid with the remaining concealer.
When using a concealer, remember a little goes a long way.
There are different ways to clean up your crease.
Based on how you place your eyeshadow, will determine how much cleaning up of your eyelid you have to do. Some people blend from the lid up to the brow bone, while others keep the eyeshadow right where they want it. In the end, the way you do makeup is always to your preference. There are so many options and techniques for you to try.
Here are three different ways you can cut the crease when creating this look.
- Simply cover any eyeshadow left on your eyelid with concealer using a flat brush.
- Take a q-tip and dip the tip in makeup remover. Start to remove the excess eyeshadow from the areas of your eyelid that you want to apply your new eyelid shade.
- Take a makeup remover wipe, drape it over the tip of an angled brush and start to carve out your crease. You can use the rest of the wipe as normal to remove the rest of the product once you have an outline.
If your eyeshadow is still out of place or you went a little overboard with cleaning up, you can always take a smaller brush to fill in your mistakes.
Perfecting the crease is my favorite part!
The same tools can be used to create different types of cut creases.
- Half cut crease – with a half-cut crease you only need to apply your concealer on half your eyelid rather than the whole lid
- Halo eye – this style only required you to apply concealer in the center of your eyeliner. The trick is you still need to create a slight outline of where your crease would be.
- Double cut crease – for this look you would be cutting your crease twice. This cut crease is more on the creative side of things. You can play around with different colors and shapes within your crease.
Once you get the basic technique of a cut crease down packed you can start to experiment with more creative eyeshadow looks.
Cut crease hacks for you to try.
Use an eyelash curler.
I know this already sounds kind of crazy but it works.
Once you have your eyeshadow blended onto your crease, take your eyelash curler and coat the top with concealer.
Angle your eyelash curler so the tip meets the corner of your eye and use it as a stamp to create your cut crease outline.
Once you have an outline you can use your concealer brush to clean up and perfect your cut crease.
Use a cut crease stamp tool.
Yes! There are premade tools specifically for creating cut creases!
In 2018, Jack Nogueira released his cut crease stamp. His goal was to make creating a cut crease an easy clean process. I mean…that’s exactly why we’re all here right?
The cut crease stamp comes in the shape of your eyelid. You can use it by spreading your concealer onto the stamp then placing it on the lid. Once your concealer is set and dry, you can apply your eyeshadow to the stamp and place it right over the concealer. Super quick and easy.
The downfall is that the website for this product is hard to navigate. But lucky for us, there are a couple of dupes on Amazon that you can check out.
The Crease Piece is another tool with a similar concept but allows you to choose the eye shape of your choice. This tool comes with a handle that you connect to your crease piece. As you press the piece gently against your eyelid start to blend out your desired crease shadows.
Next, is cut crease stickers. The brand I follow is @CrownNoireCosmetics on Instagram.
To use these stickers, you’re instructed to make 3 marks across your eye socket once your primer is set. These marks are guidelines to where you would be placing the sticker.
Once the sticker is placed you can begin to blend your shadows and remove the sticker when you are ready to reveal your cut crease.
This brand offers stickers for creating full-cut creases and half-cut creases.
Another cut crease hack is to…look up!
This hack is my favorite. I actually use this hack quite a bit when I want to create a classic cut crease.
After you have your crease shadows blended take a drop of concealer and place it on your eyelid (close to your lash line).
Then look up! Literally, look all the way up as if you’re rolling your eyes. It will leave a mark where you should begin to outline your crease.
This hack helps to make sure your cut crease is the right size. When your cut crease is too small it takes away from the illusion.
There are so many tools and techniques to help you perfect your next cute crease. So, no matter what type of makeup look you’re trying to achieve, just remember it always starts with using the right tools.
