Silk Press at Home: Transform Your Hair Like a Professional
This post may contain affiliate links, which means I’ll receive a commission if you purchase through my link, at no extra cost to you. Please read the full disclosure here.
Are you on your natural hair journey and want to learn how to do a silk press at home?
Today I’m sharing all the products I use for an at-home silk press, plus everything I’ve learned in the process.

I’m someone who has relaxed their hair for the majority of their life until I gave birth. I found that my hair grew so coarse that using a relaxer became useless. I quickly resorted to wigs because I had no idea what to do with my natural hair.
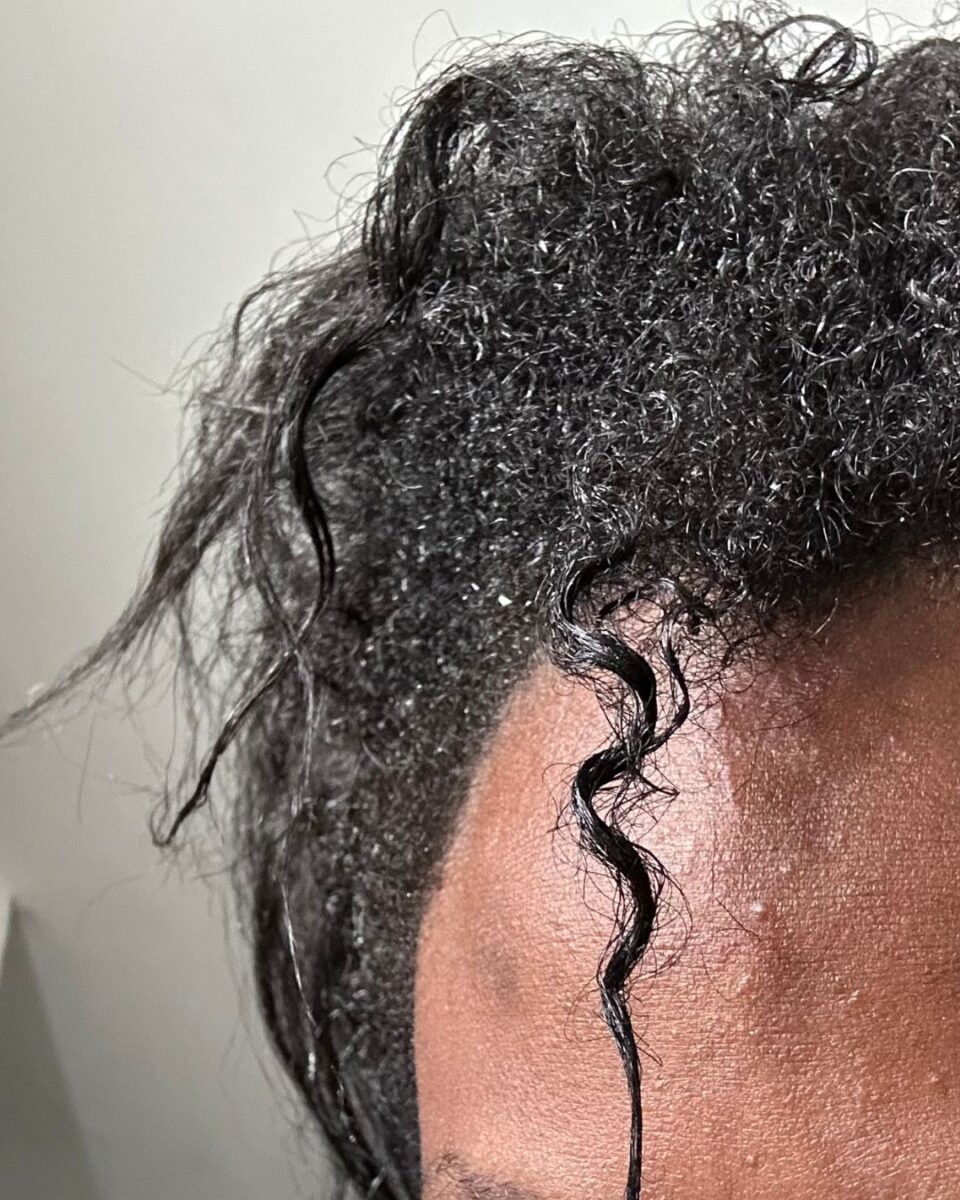
As months went on and my natural hair began to grow out, I could see a clear distinction between my natural curls and the damaged relaxed hair.

And to be honest, I was completely shocked to see my curl pattern for the first time ever. It was at that point I decided to let my hair grow naturally.
While scrolling on TikTok I always see the girls with bouncy, shiny, silk-press hair and always wondered, How can I do this myself? Because $200.00 for a salon visit was just out of my budget.
So I convinced myself that if I invested in good products now, I’d be saving money in the long run. I’m currently 3 years into my natural hair journey and learning how to do a silk press at home has definitely made the journey easier.
What is a Silk Press?
A silk press is a chemical-free straightening technique done on curly or coarse hair. This process consists of using a blow dry and flat iron on clean hair to achieve a silky straight finish.
How To Get a Silk Press at Home on Natural Hair
Step 1: Know You Hair Type
Hair types can range from 1a to 4c. Most people looking to get a silk press have a hair type between type 3 and 4 and are defined by how tight your coils are.
Aside from knowing your hair type, you should also determine your hair’s porosity. Porosity is how well your hair is able to absorb and maintain moisture.
Low-porosity hair means the cuticles are so tight that it has a hard time absorbing water. When water is absorbed it makes moisture hard to escape. One way to tell if you have low porosity hair is if it takes your hair a long time to dry.
Medium porosity hair can absorb and maintain moisture. The most ideal type of the three.
High porosity hair has open cuticles which allow moisture to easily enter but also easy to escape. High-porosity hair dries fast and frizzes up easily.
The most common way to determine your hair porosity is to perform a float test.
I have found that I have low-porosity hair. When washing my hair it takes a little while for the water to start fully absorbing and takes a long time to blow dry.
The products mentioned in this post are catered to low-porosity 4a hair. You can check the different brands to see if they offer similar products that work with your specific hair type.
Step 2: Wash Your Hair Thoroughly
Starting with clean hair is a key part of getting that silk press shine and bounce. When your hair has too much oil and build up it will look greasy and not move as much as you want it to.
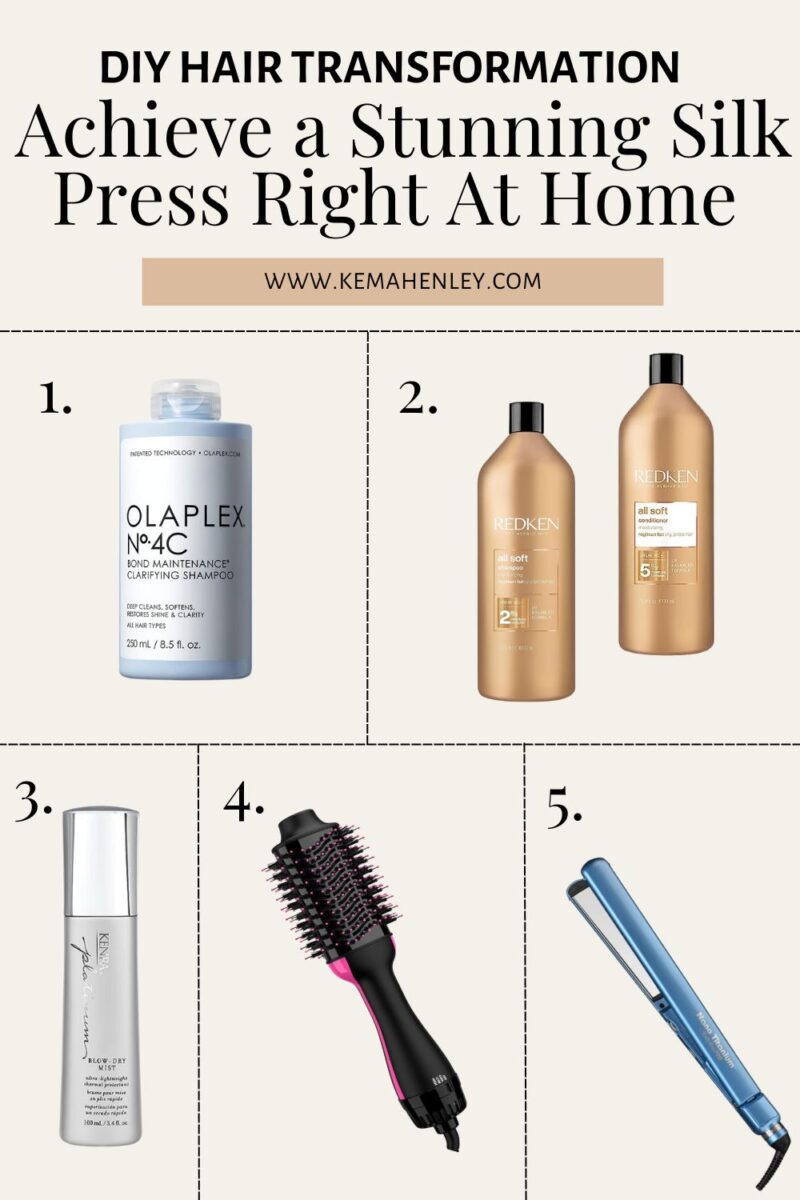
The first shampoo I use is Olaplex No.4C Bond Maintenance Clarifying Shampoo. Clarifying shampoos helps with the removal of build-up and reside.
Next, do a second wash using Redken All Soft Shampoo followed by Redken All Soft Conditioner.
In all three of these products, the first ingredient is water. The first ingredient in any product is what they’ve used the most and exactly what you want to focus on with low-porosity hair. Water!
Step 3: Apply a Heat Protectant
Using a heat protectant will help prevent heat damage when it is time to blow dry and straighten the hair. I use Kenra Platinum Blow Dry Spray. This blow-dry spray helps to reduce blow-drying time by up to 50%. I love this product, it smells so good and gives the hair a little shine without weighing down the hair.
Step 4: Blow Dry Your Hair
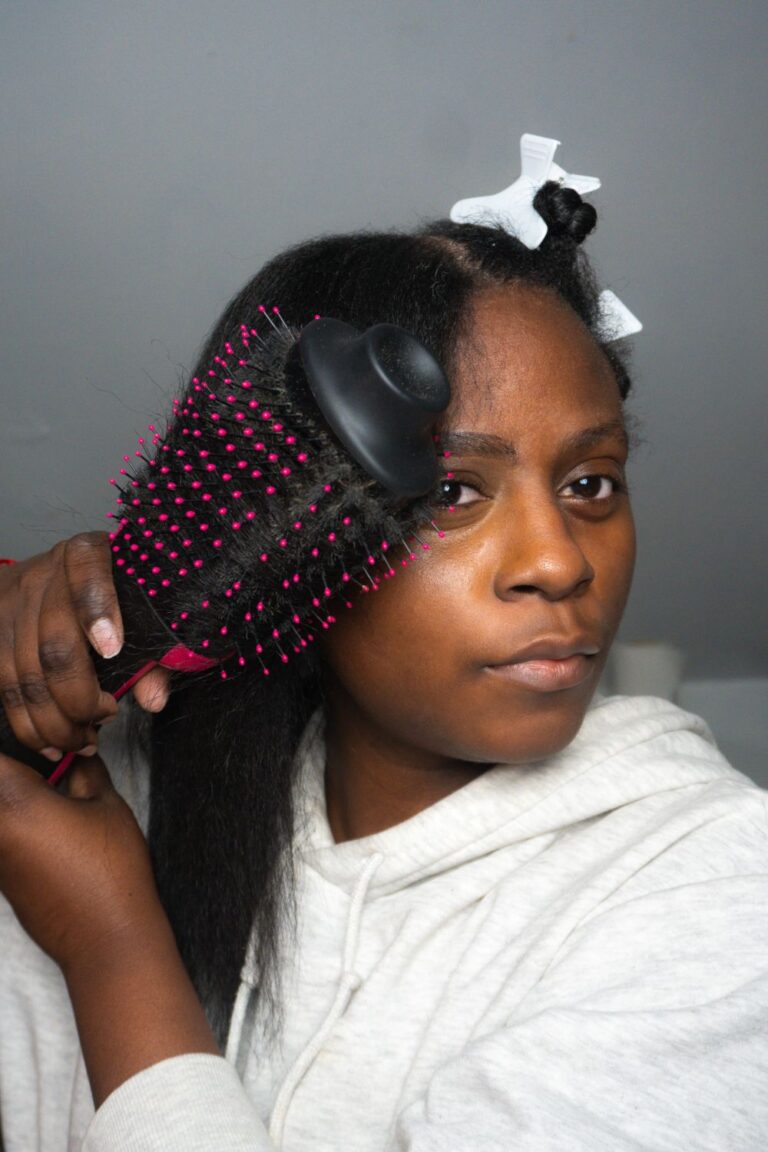
The blow-drying process was the one step that scared me about going natural. But once I pick up the Revlon One-Step Volumizer that completely changed.
I can’t rave about this blow dryer enough! I’ve never been able to blow dry my hair this quickly and have it stretched at the same time.
The standard blow-drying process would consist of stretching out your hair with a brush in one hand and applying heat with the blow-drying in the other.
The Revlon blow dryer helps relieve some of the tension of handling two tools at once. To get the best results part your hair in 4, start from the back of the head and work your way to the front, and blow dry from the root all the way out to the end. This will help prevent the hair from reverting if some parts of the hair are still wet.
Step 5: Flat Iron Your Hair
The flat iron I use is the BabylissPRO Nano Titanium Inch Flat Iron. (I recommend the 1 in) It goes up to 450 F, which is the temperature that gives me the straightest and silkiest results. This was a pricey purchase but it was so worth it.
Work in small sections and use a comb as you pass the flat iron through the hair. Since my roots are usually the toughest I pass through the root twice and run the flat iron down the rest of the hair once.
Step 6: Trim Your Ends
This does not need to be done every time you do a silk press but if you notice split ends, it’s best to cut them. Trimming the ends gives the hair a healthier fuller look and helps maintain length in the long run.
Once your ends are trimmed you can bump the ends or leave them as is.
How Long Does a Silk Press Last?
Silk press can last 3-4 weeks with the proper care. Silk presses are the best in fall and winter months since the air is drier so you don’t have to worry about sweating out your hair.
- Keep your hair away from moisture
- Try not to add additional heat
- Wrap/tie your hair at night
- Use a silk bonnet
Bonus Tip, if you go to the gym: Use a sweatband.
Check out this YouTube channel by Travelle Lavar, his videos truly helped me understand how the silk press process works. If you try any of these products let me know how they work for you.


