How To Make Press Ons Last: 5 Real Reasons They Keep Falling Off
This post may contain affiliate links, which means I’ll receive a commission if you purchase through my link, at no extra cost to you. Please read the full disclosure here.
You found the cutest press-on set, took your time to put them on, and by day 2, you find yourself missing a nail or two or five. Now you’re trying to figure out what you’re doing wrong and how to make press ons last? Before you blame the brand, the problem is almost always in the nail prep. Today we’re going to fix that.
Your Press-Ons Are Either Too Big or Too Small
In my opinion, sizing is the step that steers people away from press-ons in the first place.
If the press on is too wide, it will touch the skin of your fingertips. Instead of the glue adhering to the nail, it would stick to the skin and start to separate almost immediately.
If the press-on is too small, there will be a gap where the nail bed is still exposed. This gap is what allows moisture to seep underneath the nail and cause it to pop off.
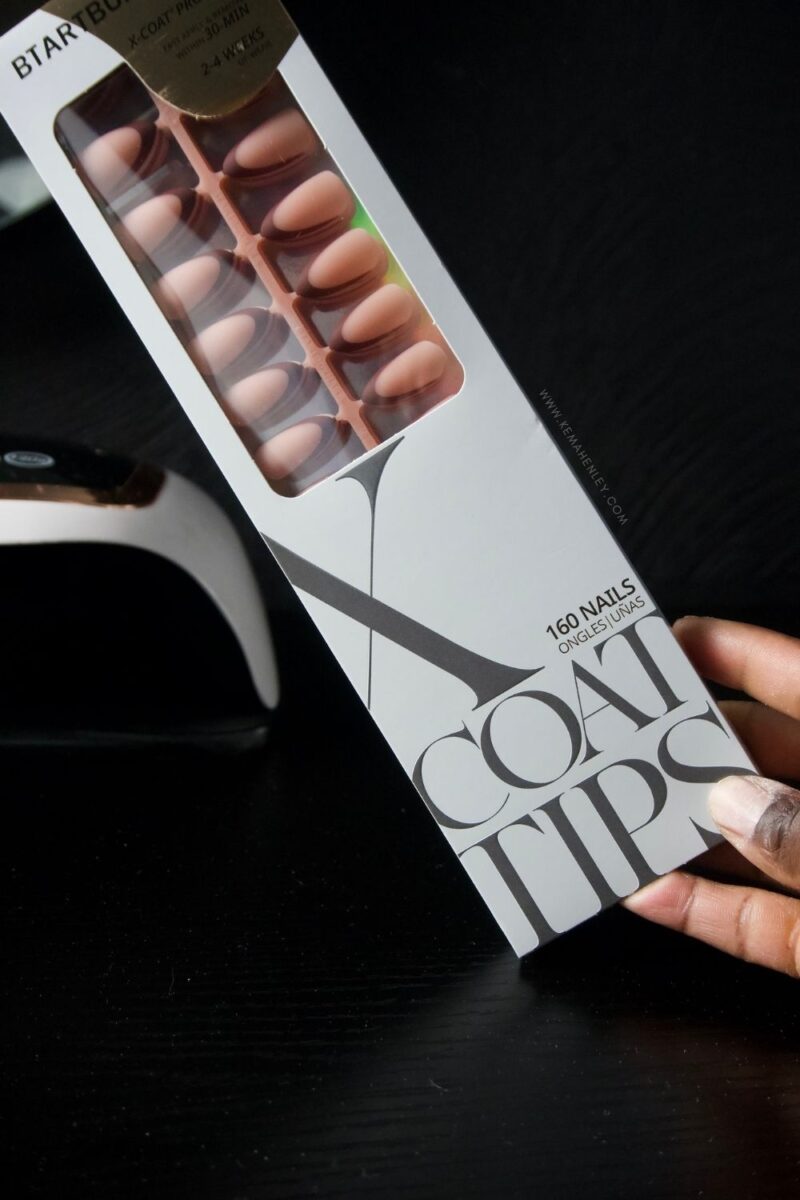
The Fix: Be patient. I know this step is tedious, but once you’ve got it down, applying press-ons will be so easy. Sizing your press on should be your first step! On clean, dry hands.
Lay out all size options and match the appropriate size to each nail. The press-on should lie sidewall to sidewall. As you begin to find your size, lay them out in order of your fingers so that it is easy to find during application.
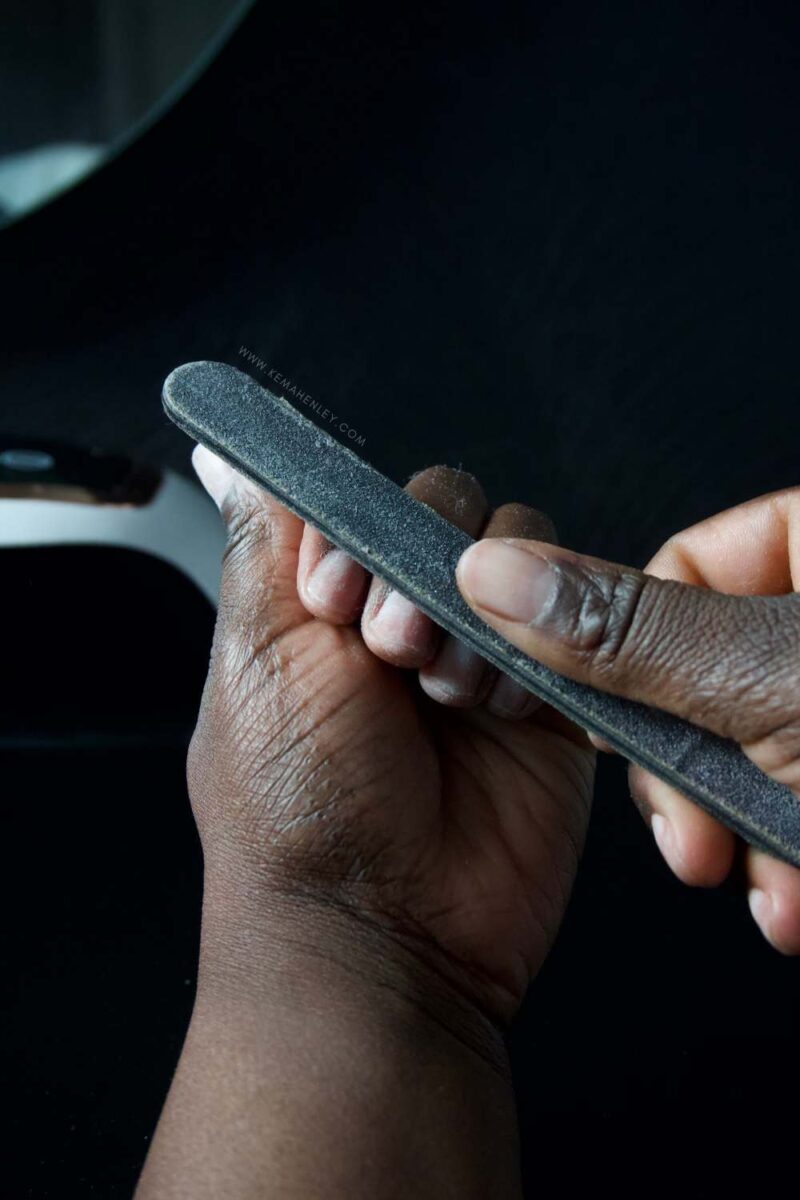
Will every box of press-ons you buy be perfect? No. So if you do find yourself in between sizes, you can use your hand file to slightly file down the sides to get a better fit. Sometimes you might even find that the press-on sits more square than round; simply file it to your desired shape. You want it to look as natural as possible.
The Nail Glue Has Nothing To Grip On To
Your nail bed is a smooth surface, and the glue needs something to grip onto. Skipping the buffing step is like putting a sticky note on a greasy fridge; it might hold for a second, but end up on the floor by the morning.
The Fix: Lightly buff the nail surface to create texture for the glue to grip. Do not apply too much pressure; this will thin out the nail. A few light passes will create a slightly textured nail bed. A 180-grit nail file is perfect.
Also, check underneath the press-on nail. If the press-on is shiny underneath, lightly buff the shine away. This is a tip a lot of people don’t consider, but it helps with longevity. You can use an electric file on low, or you can use a nail tip etching primer that will etch out the inside of the press-on nail for you.
You’re Applying Press Ons With Oily Nail Beds.
The natural oils on your nails are what prevent the glue from bonding properly. Your nail glue needs a clean, dry surface to bond to. This is usually the most common reason for press-on nails to lift, but this also applies to other forms of nail extensions.
I’ve been to plenty of nail salons, and if the nail tech did not prep my nails well enough, they would lift or pop off within the first week.
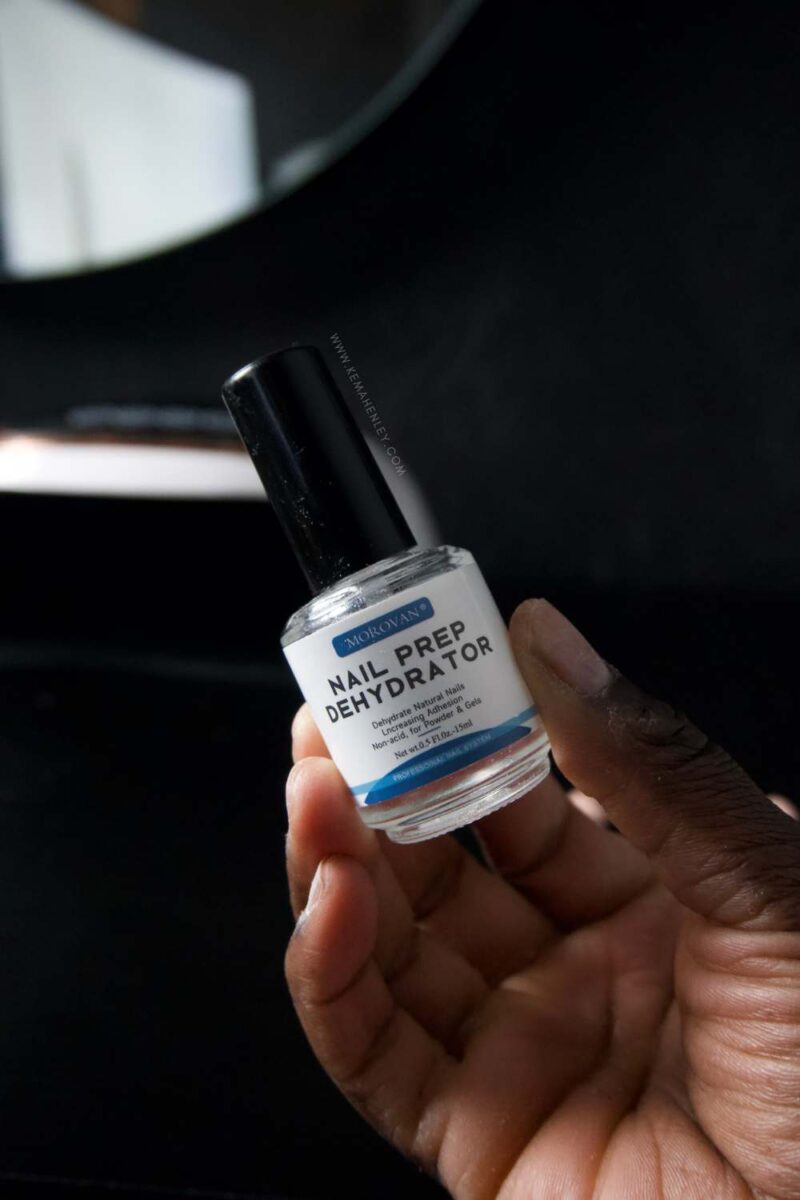
The Fix: Before applying anything to the nail, you can wipe each nail with either rubbing alcohol or use a nail dehydrator. After dehydrating the nail, try not to touch the nail, as your finger tips can add back in oils you just removed.
You Used Too Much Glue
Have you ever applied press-on, excited for it to stick after the 30 seconds as instructed, only for the nail to start slipping and sliding? I’ve been there many times.
Most people would think more glue equals a stronger hold, but a thick blob of glue actually weakens the bond. A thin, even layer creates a strong seal. It’s the same reason some have trouble applying lashes. Too much glue takes longer to bond. If you do get a spillage, clean up any excess immediately with a cuticle stick before it dries.
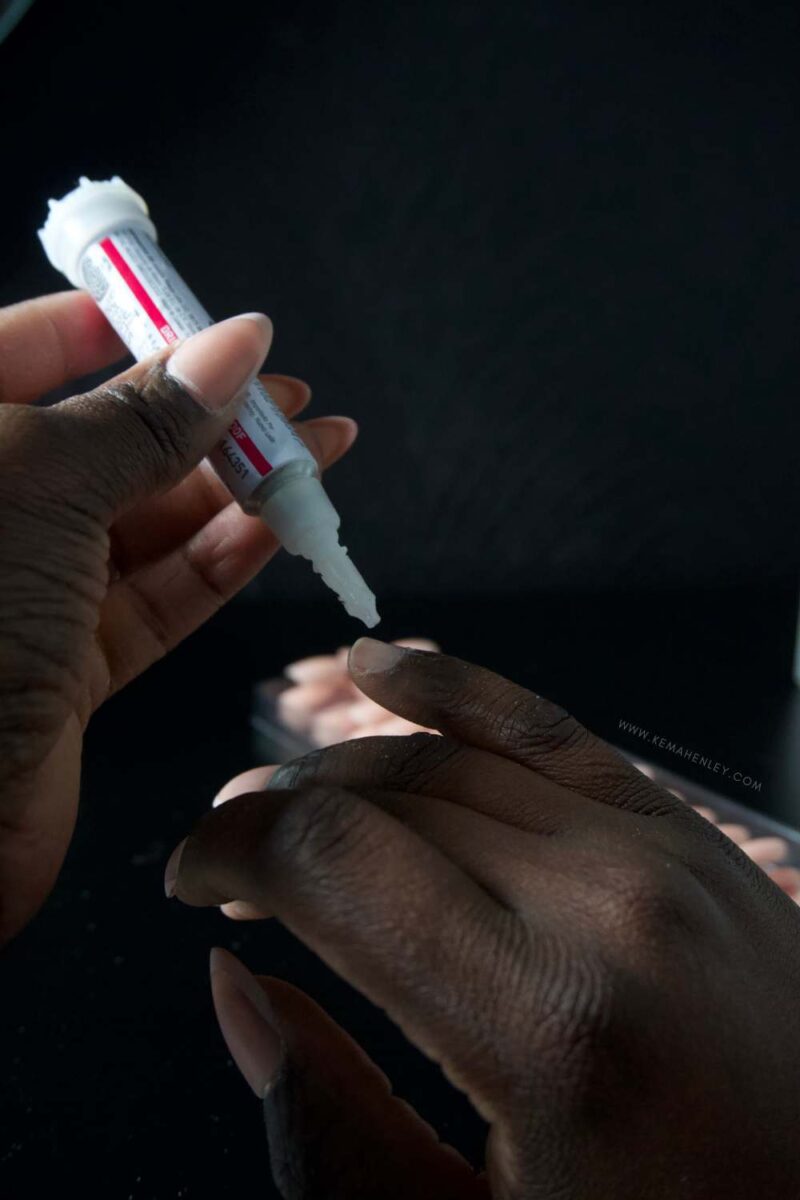
The Fix: Apply a thin layer of glue to your natural nail, not a dot or a blob. Make sure to get the edges without it spilling onto the skin. Press the nail down starting from the cuticle and hold for 30 to 60 seconds.
If you are a beginner, trying a nail glue with a brush applicator might be helpful.
You Exposed Your Nails To Water Too Soon
Since press-ons do not need a UV lamp to cure, timing is very important. Most people will apply press-ons and go about their day, washing dishes, showering, washing their hands, etc. Water exposure within the first hour or two before the nail glue fully cures weakens the bond. Nail glue can not handle that much moisture exposure.
The Fix: Wait one to two hours before exposing your hands to water. Or if there are just too many tasks on your to-do list, wait until nighttime to schedule yourself a nail session.
How to Apply Press-ons Step by Step
Step 1:
Properly size each finger to the correct press-on
Step 2:
Gently push back your cuticles with a cuticle pusher
Step 3:
Lightly buff the natural nail and underneath the press-on nail
Step 4:
Use alcohol or a dedicated nail dehydrator to dehydrate the nail
Step 5:
Apply a thin, even coat of nail glue to the natural nail and the press-on nail
Step 6:
Apply the press-on nail starting from the cuticle and hold for 30-60 seconds
Step 7:
Use a cuticle oil and hand balm