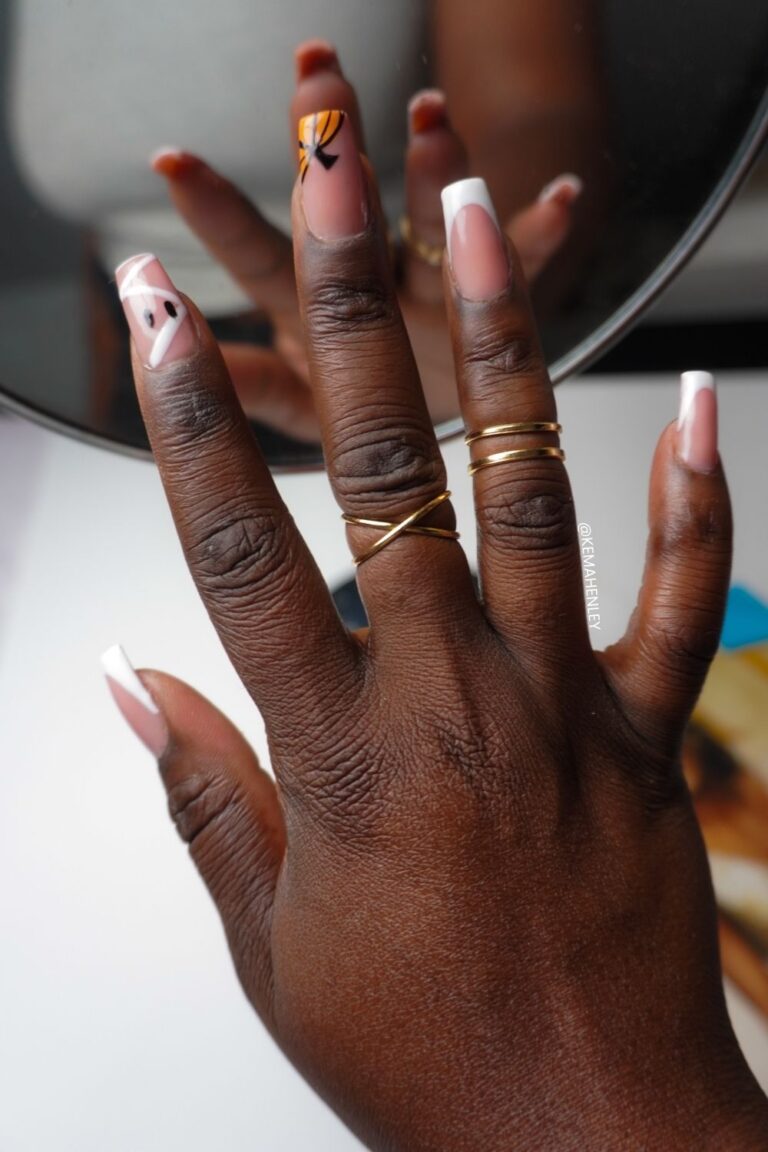
Paint Your Gelly Tips Before Applying: Yes, It’s Possible.
The thought of walking into a nail salon knowing I’d be walking out with next-level confidence after a long day of work is so satisfying. But a better feeling is knowing you have all the tools you need right at home to get the same results without dipping into your wallet.
I decided to finally give in and buy the Kiara Sky Gelly Tip Kit. On my first attempt, I had the bright idea to paint the gelly tips before curing. I quickly learned LED lights aren’t strong enough to cure through the pre-painted nail tips.
On the second attempt, I followed the directions step by step…until it was time to paint my nails again. After curing, I was left with a perfectly polished left hand and finger-printed polish on my right hand.
I keep saying to myself “there has to be a way to paint these tips before putting them on”. That’s when I found a video by TherealTiaraMonae on Youtube. I followed her method mixed with the actual instructions and the results were exactly what I wanted.
Here are the steps I took to achieve perfectly polished gelly tips using acrylic:
DISCLAIMER: I am not a professional nail technician. This method is not the suggested steps of the company. These are the steps I personally found to work for me and my desired look.
You can find some of the tools I used on Amazon:
- Nail Stand
- UV Nail Light
- Tacky Putty
- Electric Nail File
PREP THE TIPS
- Size your tips for both hands.
If the tips are too big, you’ll notice the edges overlap onto your skin which you don’t want because it‘ll cause lifting.
If the tips are too small, you’ll notice a gap between the edge of the gelly tip and your finger.
The key is to find a happy medium.
I personally like my gelly tips to have a snug fit for reassurance that the tips will hold.
- Remove the shine
Next, use a buffer to remove the shine from the top of the tips. Then use a hand-file to remove the extra piece of plastic at the head of the tip.
- Shape the nail
If you are going to reshape your tips or cut them down, I would recommend doing so during this step.
PAINT YOUR TIPS WITH GEL POLISH
For this step, you are going to need a Nail Stand, Tacky Putty, and your UV Nail Light.
Stick your nail tips to the nail stand (in order) by rolling the putty into small balls.
Once all your nails are secured on the stand you can go ahead and paint your tips with gel polish & cure for 30-60 secs. Two coats usually get the job done. Then, go in with your gel top coat and cure for another 60 seconds.
Now your nails are perfectly painted and ready for your fingers. 🙂
REMOVE THE SHINE FROM THE INSIDE OF THE TIP
Remove the putty from underneath the nail tips. If you’re having trouble getting your fingers in there, use the end of a tweezer to help roll the putty out.
The reason I don’t suggest removing the shine from underneath the tip in step one is that it’s harder to remove all of the putty from a rough texture.
With your e-file gently remove the shine from underneath the tip. Be very careful and take your time with this step because you don’t want your drill to slip and remove your beautifully cured polish.
Tip: Use your drill in a slower setting.
PREP YOUR NAILS
Before you start make sure your nails are clean. Start by pushing back the cuticles and removing the shine of your nails with a hand or electric file.
Apply “Prep” from the Gelly Nail Kit to remove any oils. Then apply the “Primer” to help bond the nail tip.
APPLY A LAYER OF ACRYLIC TO YOUR NAILS
If you have never used acrylic before you will need: acrylic powder, monomer, and an acrylic nail brush. I purchased these tools from Sally’s Beauty Supply.
Pour some monomer in a small container and dip your brush inside. Slide your brush against the inside of the glass to remove excess monomer. You want your brush not too wet and not too dry.
Tap the tip of your brush with the monomer into the acrylic for 5 secs to form a bead. Once the monomer has absorbed the acrylic powder it should look like a smooth ball at the tip of your brush.
Apply the acrylic to the center of your nail and tap the acrylic to spread it across your nail bed.
Grad your nail tip, place it on top of the acrylic pushing the nail tip toward your cuticles. Press and hold and in place for 30 secs.
Clean off any excess acrylic that may have split out from the side of your nail with a cuticle pusher or tweezer.
Repeat this step for all 10 nails.
CLEAN UP ANY IMPERFECTIONS
The great part about Kiara Sky products is that it makes it super easy to go back and fix imperfections without destroying your work.
I had some excess acrylic underneath my nails and was able to easily file the acrylic away using a small drill bit. The quality of these gelly tips are so strong you don’t have to worry about weakening the nail.
And there you have it! Now you can enjoy annoying your coworkers at work as you type away.
