Matte Foundation Routine Using Fenty Beauty | Dry Skin Approved
Ladies, winter is upon us! And I have a new matte foundation routine to share with you. The next couple of months will be filled with holiday parties, lots of shopping, and unfortunately, dry skin. During the summer a lot of us gravitated towards tinted moisturizers, but now that it’s the holiday season and glam makeup looks are in full effect, I’m officially ready for some full coverage makeup looks.
Around this time of year I love a matte base to compliment all the glitter and red lips we’ll be wearing. But my biggest dilemma is battling the brittle winter air against my dry skin. So, I decided to try Fenty Beauty’s Pro Filt’r Soft Matte Foundation.
The fact that this foundation was categorized as a soft matte and not the quick drying full matte that we’re used to with other foundations is exactly what drew me. According to Fenty’s website, this foundation is described as buildable medium to full coverage, oil-free, “light-as-air” and comfortable to wear.
In this post I’ll take you through my matte foundation routine for flawless winter glam. Let’s get started!
My Matte Foundation Routine
Hydration is key!
Start by prepping my skin with Milk Makeup Hydro Grip Primer. I have to say I’ve been in love with this primer since the first pump. I didn’t want to believe the hype but this product does everything it claims: boosts hydration, gives a dewy glow, and helps foundation stay in place.
A moment of honesty: I was that girl who always wondered, “what’s the point of using a primer?” But after taking the time to educate myself and troubleshoot my makeup application problems I found that starting with a well-hydrated base was a major key. Adding this one step
made a huge difference in how smooth my foundation looked, how much easier it was to blend, and how much longer it lasted.
Foundation
Now for the star of the show, Fenty Beauty Pro Filt’r Soft Matte Foundation in shade 460. Before buffing out the foundation with a blending brush, I used the Morphe Continuous Setting Mist to help move the product around evenly.
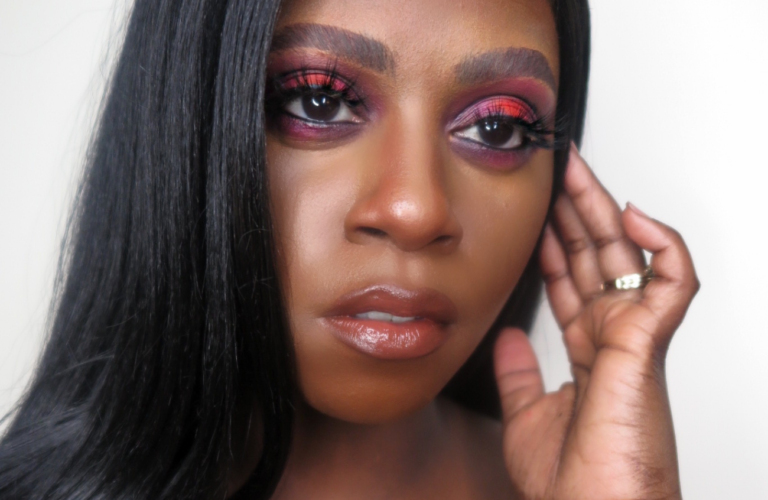
After applying the Soft Matte Foundation you can still see a healthy looking glow in my cheeks.
Highlight & Contour
Here’s a new trick of mine.
I’ve watched a lot of makeup artists use different shades of concealer to create a beautiful gradient from their highlight to their contour. But honestly, the thought of purchasing 3-4 different concealers was a turn off. Instead, I decided to buy a darker shade (490) in the Fenty Beauty Pro Filt’r Hydrating Longwear Foundation to use as a cream contour.
You’re probably thinking, “but doesn’t Fenty already have contour sticks?”
They sure do, but during the winter contour sticks just don’t get the job done and can be slightly difficult to blend on dry skin. Using a foundation made it much easier to blend and created a beautiful base for a bronzer.
For highlighting, I used Maybelline Instant Age Rewind Eraser Dark Circle Treatment Concealer in Warm Olive . Make sure to take your time when blending!
Using a smaller brush helps me focus in on the blending process, especially right where the concealer meets the contour shade. You don’t want to see harsh lines where the two meet. Your highlight and contour shades should blend next to each other seamlessly.
Optional: You can go back over your highlighted areas with an even lighter concealer shade. I went in with Maybelline Instant Age Rewind Eraser Dark Circle Treatment Concealer in Caramel to brighten the corners of my eye, nose, chin, and forehead.
Tip: Always keep your foundation brush close by so you can go back in and defuse any areas that may look too harsh.
Once I’m done blending with a brush I like to go back over with a beauty blender to press everything into the skin.
Bronze & Set
To set my concealer, I used Huda Beauty Easy Bake Loose Baking & Setting Powder in Cinnamon Bun. Girlsssss! This powder is like a bottled up Snapchat filter. Absolutely flawless.
I love the tan color which gives the concealer a natural finish.
To bronze, I went in with the Juvia’s Place Bronzed Duo in Dark. For us dark skin beauties it’s not easy to find a bronzer that actually shows up on our skin tones, but I’ve recently found a couple I’ve been loving and this bronzer is definitely one of them. I love that it comes in two shades so you can choose how dark you want to build up your bronzer.
Brow Essentials
And lastly for brows, I’m using the Anastasia Beverly Hills Brow Freeze Styling Wax & Anastasia Beverly Hills Micro-Stroking Detailing Brow Pen in Ebony. The combination of these two products are perfect for those fluffy brows that we’re all loving right now. I find the pen to be much more pigmented that the Brow Wiz pencil, leaves the ends of my brow with crisp lines, and gives me full control over the areas that need extra volume.
Final Look With a Matte Foundation Routine
Takeaways
Even with dry skin we can still slay a matte base makeup look.
The key for us dry skin babes is to find hydrating products. I came across a Tik Tok that said the key to hydrating the skin is using water based products rather than the oils that we naturally gravitate to. Both the primer and foundation used in this routine are water based products.
Using two water based products helped prevent any added dryness from the powders and still made the foundation comfortable to wear even after baking.
Whether you’re team eyes first or team foundation first, you can always refer back to this post when you’re ready for a flawless matte foundation routine.
If you try this matte foundation routine, let me know how it worked for you. ❤
