10 Must-Have Content Creator Equipment to Get You Started on Social Media
This post may contain affiliate links, which means I’ll receive a commission if you purchase through my link, at no extra cost to you. Please read the full disclosure here.
It’s no secret that in today’s world, video is king. When social media platforms started to prioritize video I felt lost. I did not understand lighting or even what type of equipment to search for.
After lots of trial and error, I’ve finally gained enough knowledge about what equipment works best for my filming needs.
Today I’m sharing all the content creator equipment I use to create beauty content for social media, YouTube, and this blog.
Whether you’re just getting started or looking to change your filming setup I hope this helps! There’s no gatekeeping over here!
Content Creator Equipment for Beginners
Tripods and Mounts
When creating content you quickly realize how necessary tripods really are. I have spent my fair share of time and money searching for tripods every time I’ve decided to try a new content style.
Here are some things to consider when looking for the perfect tripod:
- How tall do you need the tripod to extend?
- Will you be using the tripod on the floor or will it stay on your desk?
- Does the tripod need to be travel-friendly?
- Do you need versatility in angles and movement or will one stationary position work?
- Will you be using the tripod for your camera, phone, or lighting? (Some tripods can’t handle too much weight.)
Another thing to note is that some equipment you buy may already come with a tripod stand, for example, a ring light, backdrop kit, or softboxes.
Lighting
Buying lighting for my content has been one of the best investments so far. Lighting is the one element that will determine if your content is considered “high quality”.
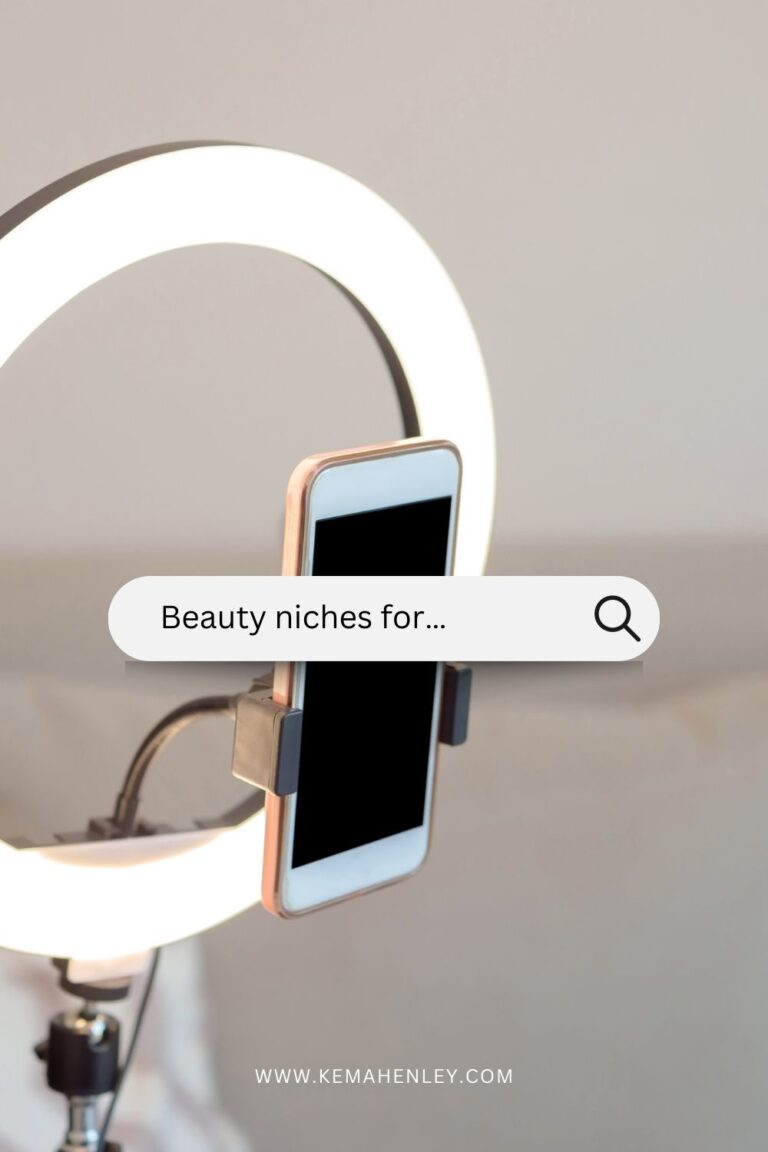
They say natural lighting is the best but if you’re like me and work a 9-5, there is no sunlight when you get home. When I first started creating content, my ring light solved this problem for me time and time again.
Now that I have a particular style that I want to achieve I’ve upgraded to more professional studio lighting. Here’s the lighting I currently use to create content:
Camera and Lenses
Microphones
Accessories
EXTRA CAMERA BATTERY
I can’t tell you how many times I’ve gotten halfway through filming only for my camera to die. Leaving me behind on my plans.
The smartest thing to do is always have an extra battery charging.
Here’s the extra battery pack I bought for my Sony A6400. You can find similar packs for your specific camera mobile.
TRIPOD MOUNT ADAPTERS
If you have a ring light you need these! The Neewer ring light has a slot for adapters so you can attach your camera or phone.
Most filming equipment will come with adapters but if you lose it….you’ll, unfortunately, be rescheduling your content. Mount adapters are definitely not something I thought about in the beginning but are a big part of your setup process.
LED VIDEO PANEL LIGHT
These were the second set of lights I bought during my content creation journey. I started out with only one and after learning more about setting up lighting for videos, I quickly realized one wasn’t enough. You can use one on both sides of your ring light so that all sides of your face are evenly lit. If you have a backdrop you can place one behind you to get the halo glow in the background.
I would also consider purchasing a power cord to use with the LED panel while plugged in because the battery doesn’t last too long.
1TB PORTABLE EXTERNAL HARD DRIVE
Once you’ve filmed your content you’ll want to store it in a safe accessible place for editing the final project. 1TB is one of the highest storage levels you can get. You will have enough space for all your photos, videos, files, and even some software programs.
iPHONE/iPAD FLASH DRIVE
Probably my favorite content creation equipment.
When I’m editing a video on my computer I can save it to this flash drive, plug the other end into my phone and pick the files I need.
This has also help free up stroage space on my iPad tremendously.


